What and How to Set up First?
Enter the name of your workspace, add an avatar, configure group stages and invite the staff.
Why Add the Name and the Avatar?
Imagine you have three companies. A separate workspace has been created for each one. In order not to confuse yourself and employees, indicate your brand names and upload logos.
Even if there is only one workspace, it is more pleasant to see the name of your company with a brand name (logo).
How to Go to the Workspace Settings?
- Make sure you are the administrator of the workspace. Employees can not manage the settings.
- Find the workspace you want at the top left. Multiple workspaces are displayed as a drop-down list.
- Next to the workspace, select the Gear. You will be taken to the Settings/Information page.

How to Enter the Name and Upload the Avatar?
On the Settings/Information page:
- fill in the Workspace name field;
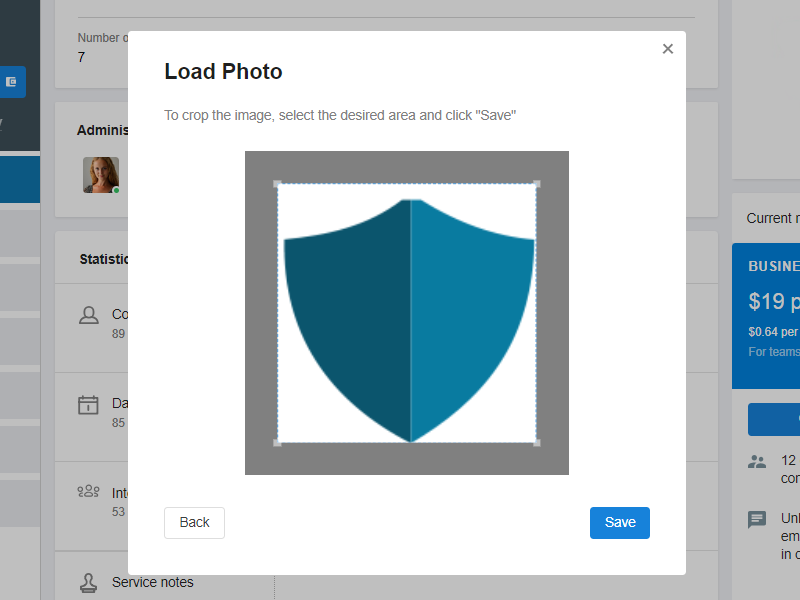
- click Load photo to upload the avatar.
Add square avatars. Extruded images are cropped to a 1:1 ratio.
Try to keep the name to include no more than two words. If there is not enough space, some characters will be hidden in the drop-down list of workspaces.
![]()
How to Set up the Main Menu?
The main menu displays sections of your workspace. Configure them so that the necessary sections are displayed in the System, and unnecessary ones are hidden.
- Click on the All tab in the main menu.
- Hover over the desired section to display the clip.
- Click on the clip to add or remove the section from the main menu.
Learn how to change the order of sections in the main menu.
